To carve a ham efficiently, you don’t need anything special—just a couple of workhorse tools. Here’s what we recommend:
Once you’ve brought the ham out of the oven, hold on for a minute. Actually, 15 minutes is more like it—that’s how long you’ll want to let your ham rest before carving. Letting the meat rest is important for two reasons. First, it allows the juices to redistribute, so the meat doesn’t lose all its moisture (and tons of flavor) when you cut into it. Second, it helps you avoid burning yourself. Sound good? Good! Now, keep that meat warm during the resting period by covering with aluminum foil.
With your ham rested and ready, here’s what you’ll do next:
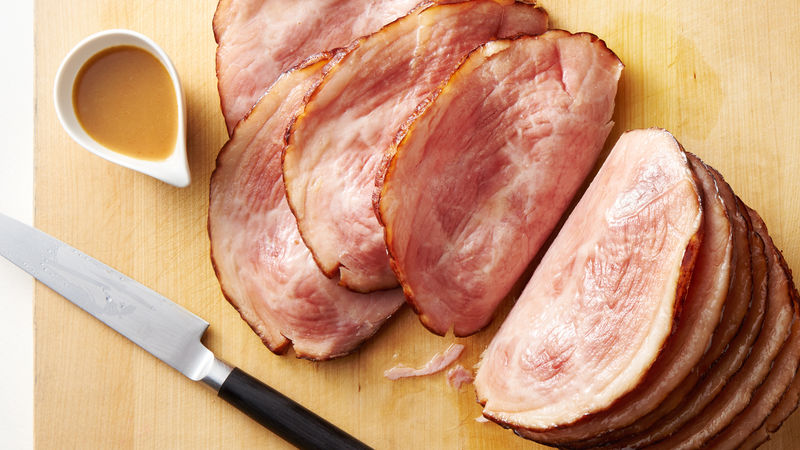
1. Place ham on a large cutting board with fat side up and bone facing you. Cut ham in half, avoiding the bone.
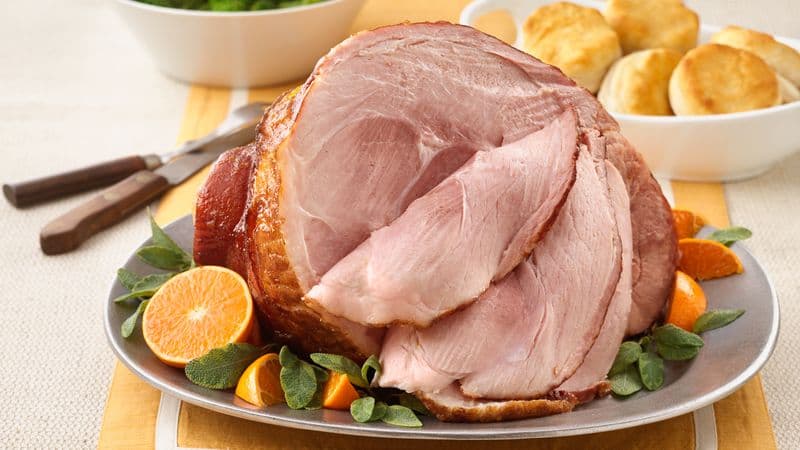
The instructions above are for a bone-in, unsliced ham. If your ham is spiral cut (i.e. pre-sliced), a little bit of knife work will make it easier to serve.
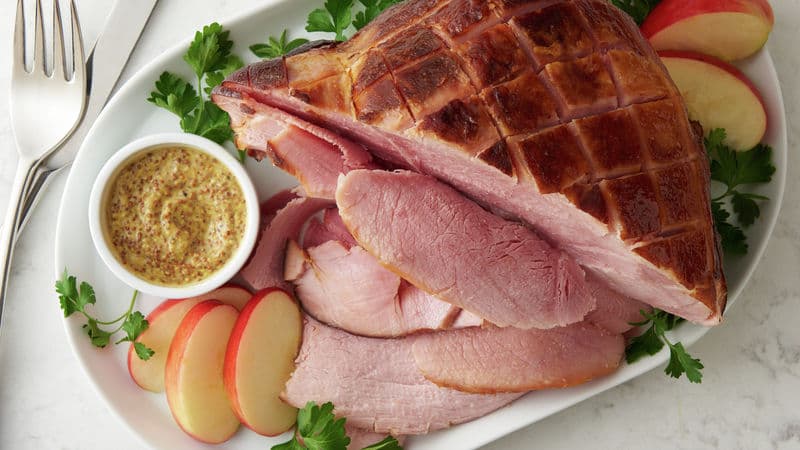
Here are our best tips for serving up a beautifully garnished platter of warm ham.
Congratulations, you’ve baked a ham and carved it. More than that, you’ve gathered your loved ones together for a fabulous feast. Let us leave you with one last piece of advice before we go: Don’t give in to the urge to fixate on the less-than-perfect details of the meal. No one else has noticed that one gristly piece that made it on the platter or the less-than-piping-hot potatoes. It’s more likely that they’re just wondering how to get Aunt Mary to hurry up and pass the platter before Uncle Gary takes all the best pieces. Go easy on yourself and enjoy the fruit of your labors—happy holidays!